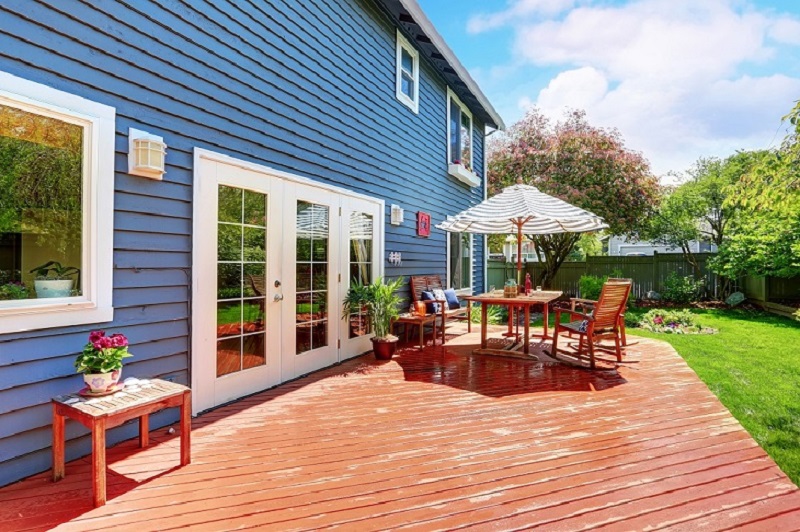
While installation of decks, you cannot neglect the instructions from manufacturers. One should always be informed of the thermal expansion property when they are working with plastic. As the climate changes, the temperature changes subsequently, which creates an issue with plastic decking installation, the decking spaces get changed with differences in the temperatures.
It is popularly known as composite decking and this type of decking tends to bulge or shrink with respect to temperature. It grows with the increase in temperature and shrinks as it gets cooler around. Thus, a proper amount of space should be left during plastic decking installation so that it allows some minor movements without any buckling.
Hidden fasteners are used for installation of some of the decking materials. The clips are mostly screwed into the frame of the desk across the joist and they are intermittent into a hollow pocket like structure which is runs downside of the boards.
Most of the time reverse thread screws are used; they are used typically to eliminate problems of mushrooming. The problem of mushrooming takes place when some of the composite materials are pulled out by the screw above the surface while installing. It doesn’t look very attractive when such things happen but here you can cure the solution by hammering it down to the level of the surface, thus preventing it from looking shabby.
Steps for Plastic Decking Installation
- Build a supporting substructure
The first and primary step is to check the surface on which the deck is going to be installed, that is the surface should be flat and stable. The decking boards shouldn’t just be placed on the ground; they should be fixed with joists of a suitable supporting structure. The base should be having an almost 10cm thickness and a gradient of 1 in 80 is suggested as it will help in water run-off that gets collected under the deck. There shouldn’t be more than 40cm space between the joist rows depending upon the angle decided to lay the board in relation to joist. There should be a gap of 15 mm that should be left between the ends of the joists and a fixed object, thus making way for a good and durable drainage and temperature expansion.
- Fixing the decking boards to joists
While plastic decking installation, the decking boards are attached to the joists with the help of a plastic T-clip and a stainless steel screw, which works as a supporting structure. The first area to be decked is the outside area. So, one should place the first board and screw into the joists as it crosses when the row of starter clips are used. Then one should fit the T-Clips into the groove along the sideboard and attach them by screws into the supporting boards. Most of the time it is said that a minimum of 7mm space should be maintained between the sides of two boards placed adjacent to each other for allowing the drainage or to prevent problems of expansion due to temperature changes. Thus, the plastic T-clips are used for the purpose of checking whether the gaps are maintained or not.
- Finishing the deck
Once the board is fastened then the only thing that remains is to clean and smoothen up the sides of the new deck, and it can be done by trimming the sides. This will give the finishing touch to the new deck and can be done by directly screwing them into the joist below the decking. It is recommended during the plastic decking installation that the joist shouldn’t be fully closed and a flow of air, i.e., air circulation should be allowed so that drainage shouldn’t be a problem.
What do you think?
Advertisement


